
User Roles and Permissions
Roles Overview
Roles define the specific tasks and permissions assigned to team members within an organization. They streamline task delegation by clarifying who is responsible for what, ensuring efficient workflow. Roles also manage access levels, ensuring that only authorized individuals can access certain information or perform actions. This simplifies management and fosters effective teamwork.
How do I create the roles for team members?
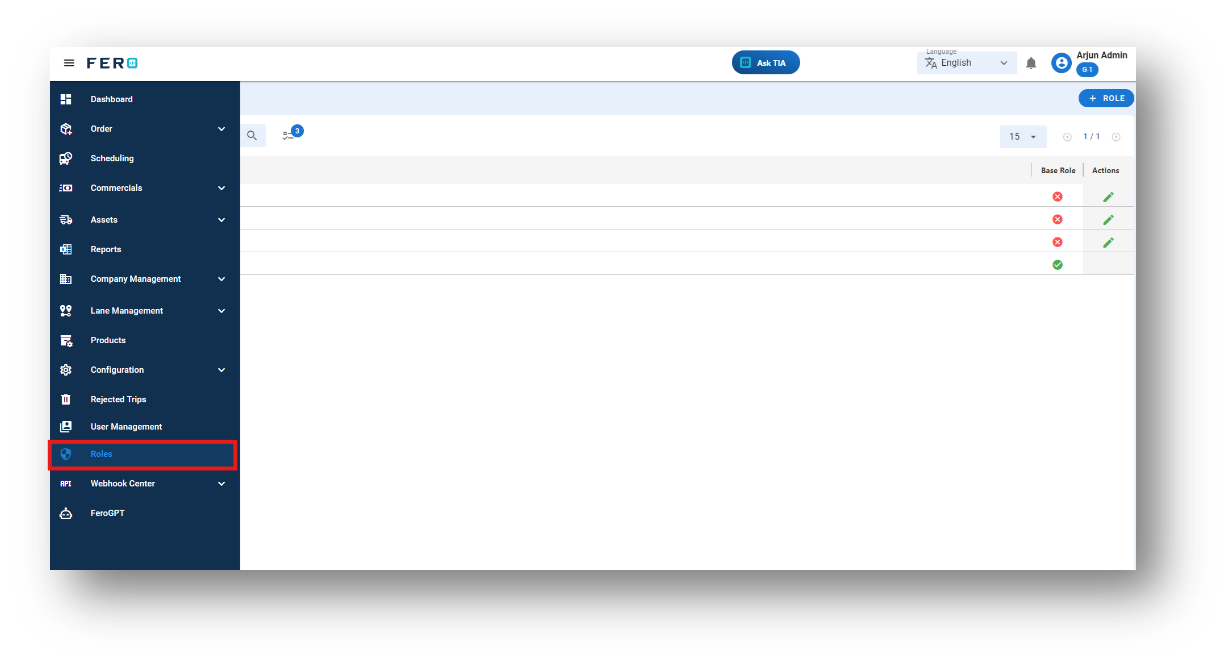
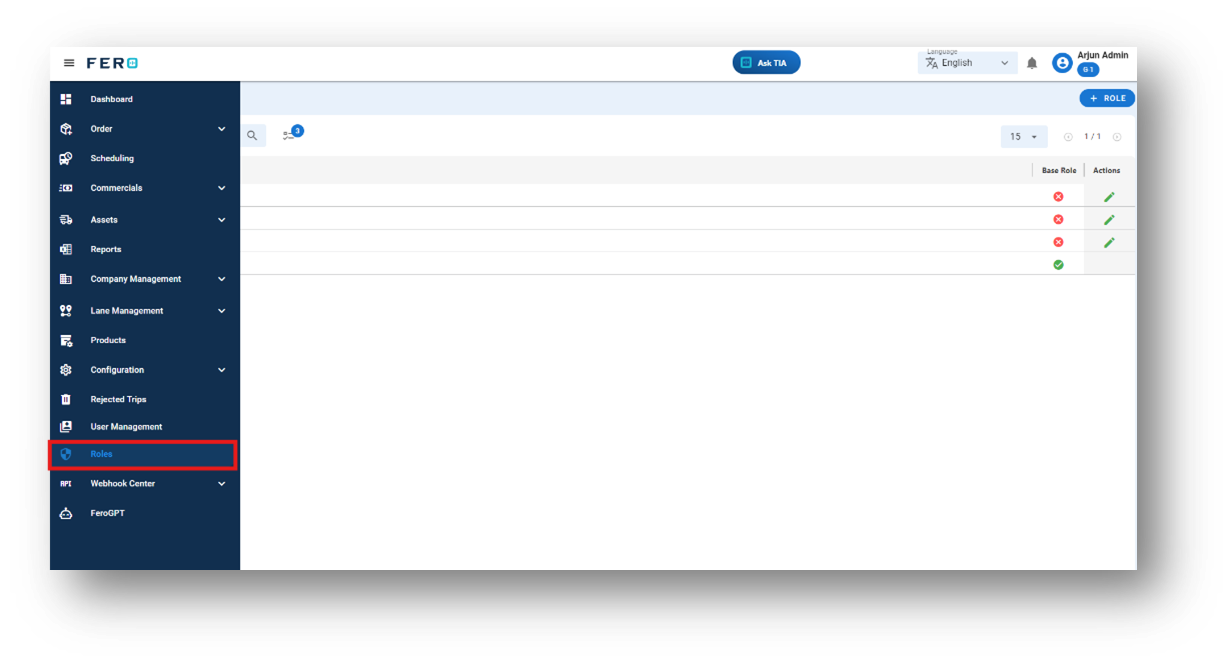
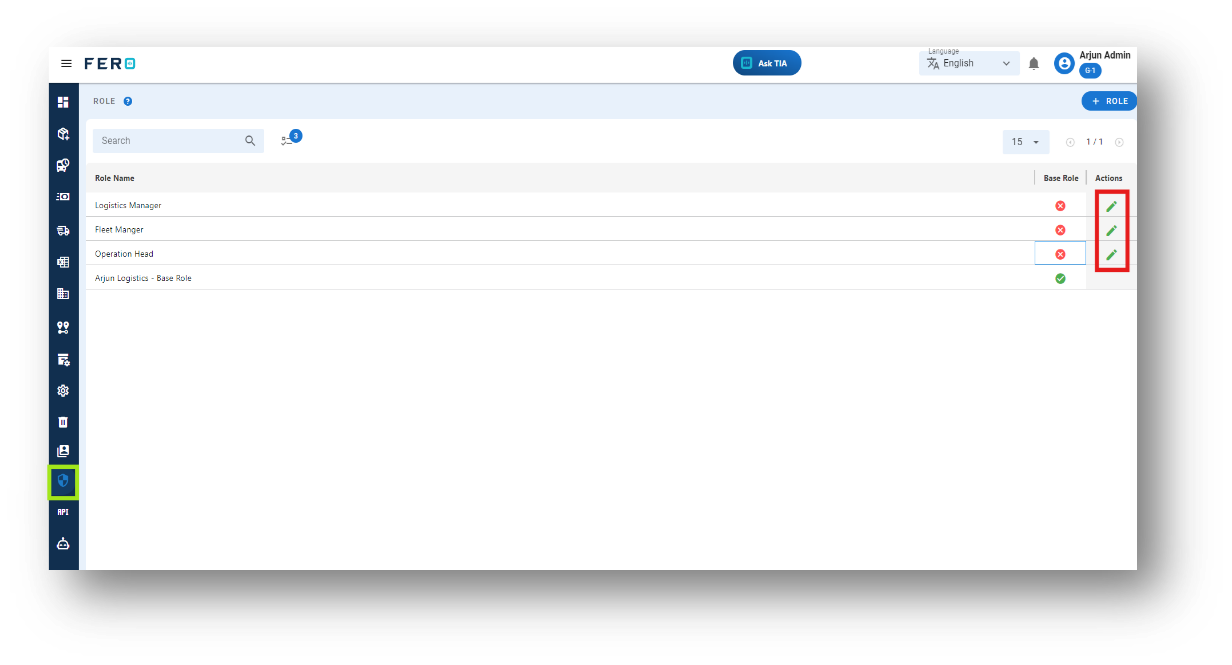
Step 1: Navigate to the roles section and click on it to open the roles homepage.
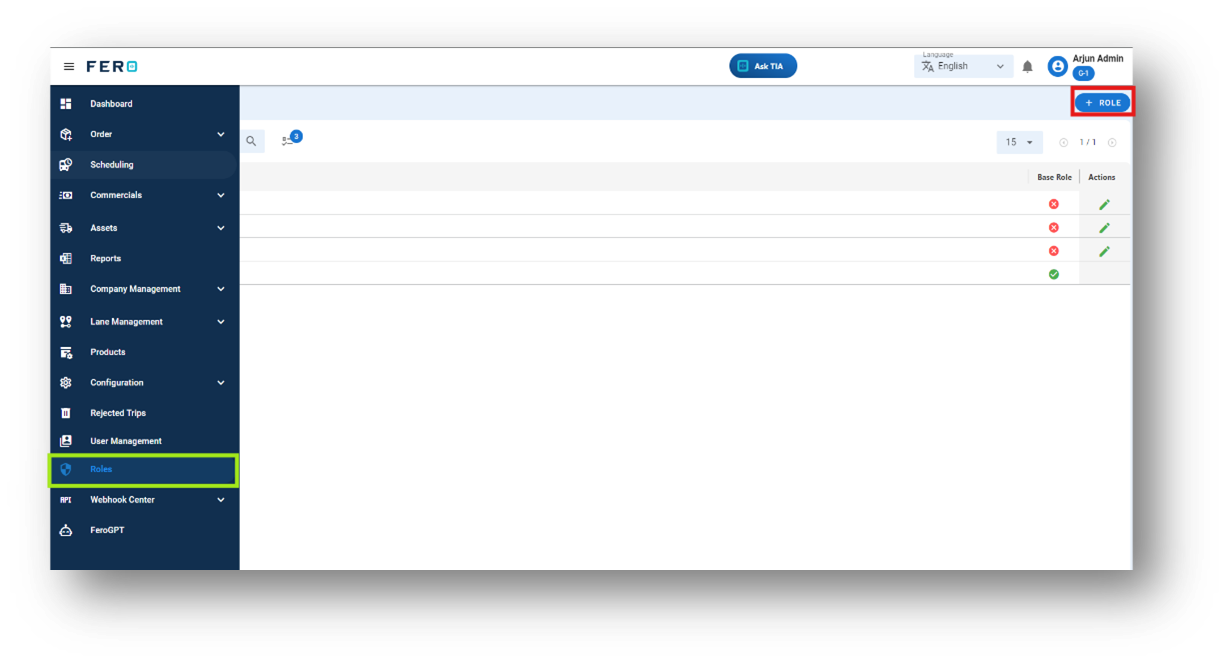
Step 2: Select the "Add Role" option to create the roles creation process.
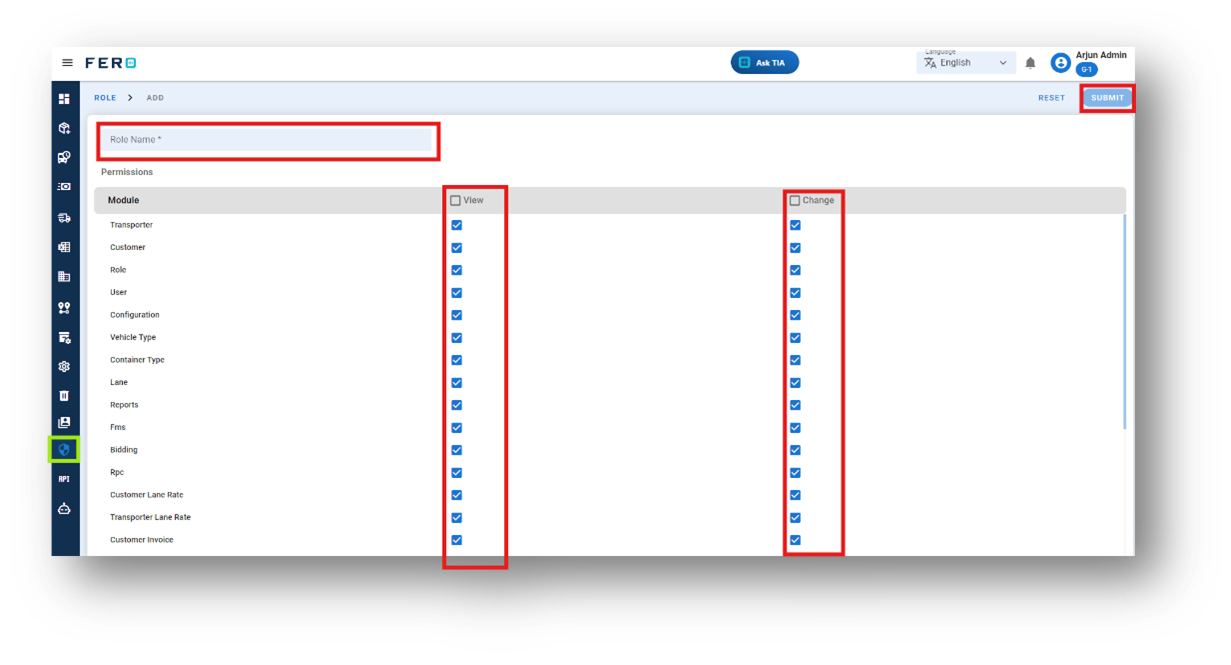
Step 3: Define the Role and Assign Permissions
- Define the Role: Specify the role you want to create.
- Select Permissions: Choose the permissions to assign to the role by clicking on the checkbox fields based on your understanding.
- Submit: Once permissions are selected, click "Submit" to finalize the role definition.
By following these steps, you can effectively define roles and assign appropriate permissions to team members within your organization.
FAQs
Q1. Can I edit or modify the permissions of roles?
Yes, you can edit or modify the permissions of roles. If you need to update the tasks and permissions associated with a role.
User Management Overview
User Management allows you to create user accounts, enabling streamlined operations and easy access to essential information for team members. By setting up user accounts, you can ensure that each team member has the appropriate permissions and access to the tools they need to perform their tasks effectively. This module helps in organizing and managing user roles, enhancing overall productivity and security within the organization., you can do so by following these steps.
How do I Add USERS?
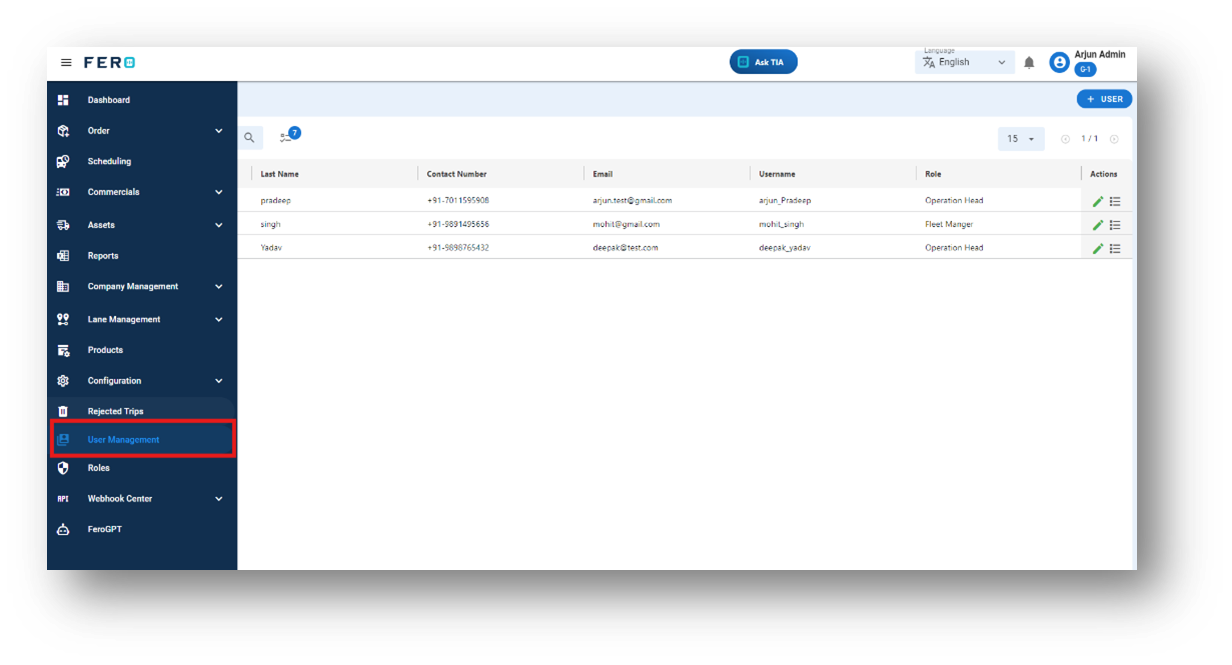
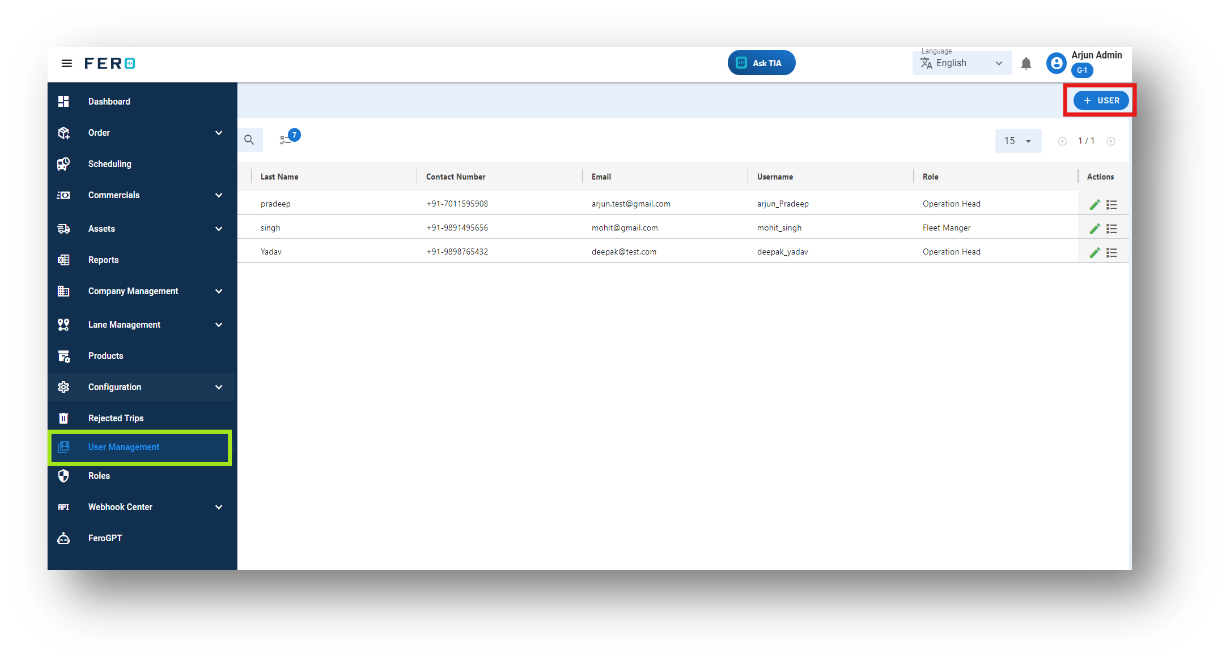
Step 1: Navigate to the user management section and click on it to open the user management homepage.

Step 2: Select the "Add User" option to create the user creation process.
Step 3: Define the User
- Enter Personal Details: Fill in the required fields such as first name and last name.
- Create Username: Set a unique username for the user.
- Provide Contact Information: Enter the email address and phone number.
- Select Branch: Choose the branch from the dropdown menu.
- Create Password: Set a secure password for the user.
- Assign Role: Select the appropriate role from the dropdown menu.
Click "Submit" to add the user to the platform.
By completing these steps, you can efficiently add new users to the platform, ensuring they have the necessary access and permissions for their role.

FAQs
Q1. Can I edit the user details?
Yes, you can edit user details. This allows you to update personal information, contact details, branch assignments, and roles, ensuring accurate records and proper access permissions.
